![]()
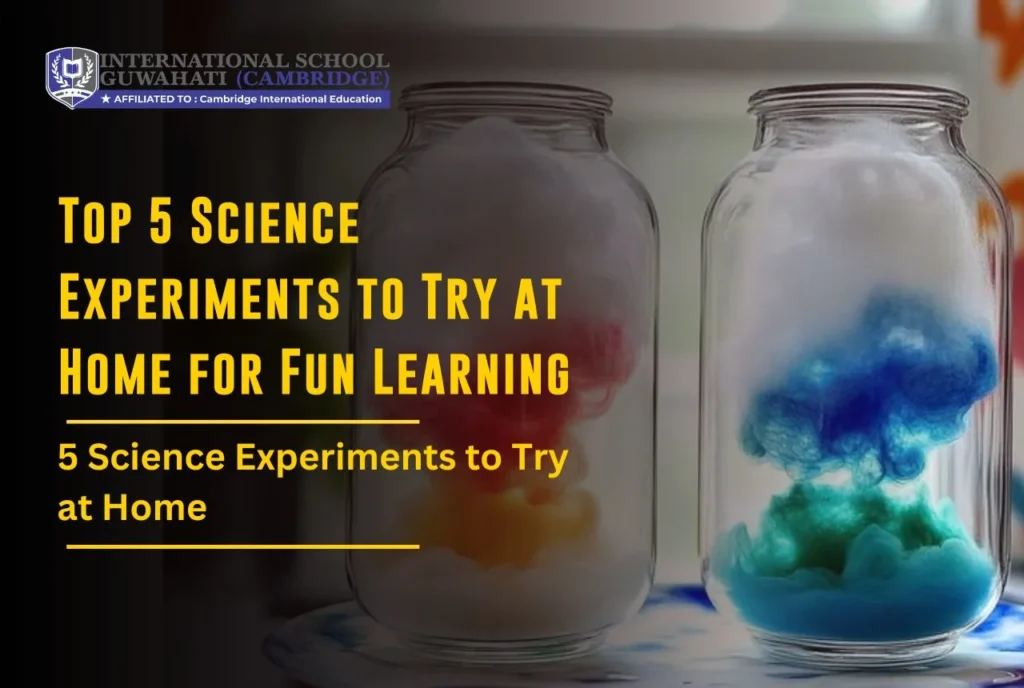
Top 5 science experiments to try at home offer children an exciting opportunity to learn science through play and discovery. Science isn’t just a subject—it’s an exciting journey of exploration. Hands-on science learning allows students to observe real-world phenomena, test hypotheses, and gain a deeper understanding of the world around them.
Conducting experiments at home can turn everyday materials into gateways for curiosity, creativity, and critical thinking. These DIY projects are not only fun but also highly educational, making them ideal for children of various age groups.
The best part? You don’t need a lab to perform them. Each of these activities uses simple materials commonly found in most households. While these experiments are safe for children, adult supervision is highly recommended, especially when handling substances like vinegar, baking soda, or glue.
At Cambridge International School Guwahati, widely recognized as one of the best IGCSE schools in Guwahati, practical science learning is a core part of the curriculum. The school believes in nurturing future scientists through real-life experimentation, sparking curiosity in every young mind.
Top 5 Science Experiments to Try at Home
These carefully selected experiments are perfect for at-home learning. Chosen for their simplicity, educational value, and engaging nature, they help children visualize scientific principles like density, buoyancy, and chemical reactions. They also allow for hands-on involvement, which boosts retention and understanding.
Whether your child is in primary or middle school, these experiments offer age-appropriate challenges and excitement. Most use materials like water, baking soda, vinegar, food coloring, and household containers—easy to find and safe with adult guidance.
Each experiment encourages observation, reasoning, and hypothesis testing—key skills in science education. They’re ideal for family bonding and make excellent science fair project starters. Plus, they align well with the inquiry-based learning model supported by Cambridge International School Guwahati.
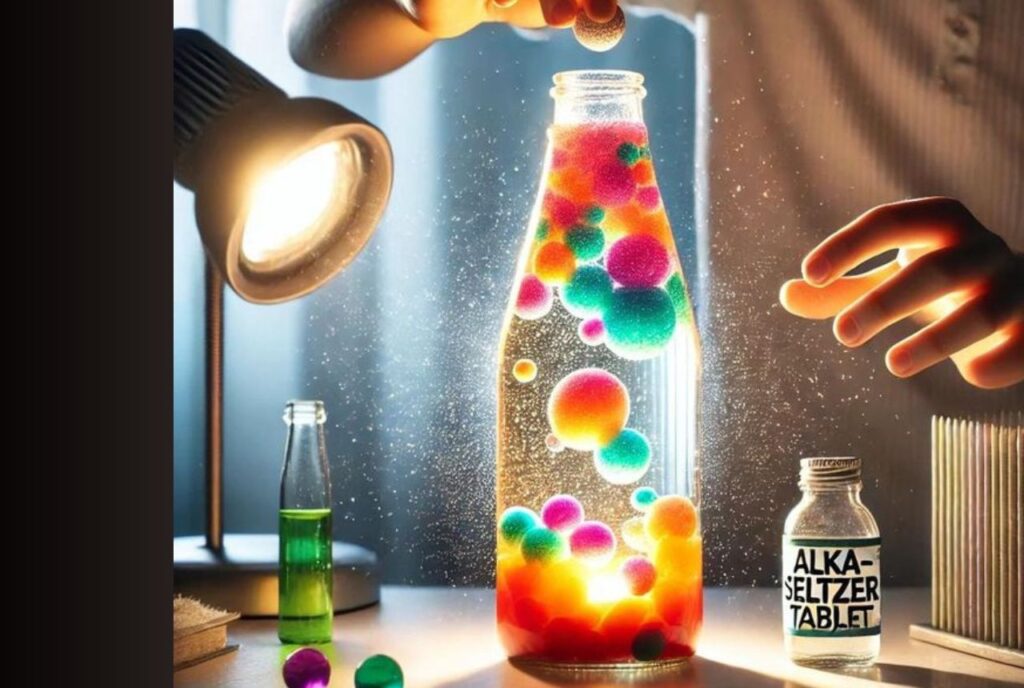
1. DIY Lava Lamp: Exploring Density and Chemical Reactions
Materials: Clear plastic bottle, vegetable oil, water, food coloring, Alka-Seltzer tablet.
Steps:
- Fill the bottle about two-thirds with vegetable oil.
- Add water until the bottle is nearly full.
- Drop in a few drops of food coloring.
- Break an Alka-Seltzer tablet and drop the pieces in.
Science Behind It:
The water sinks below the oil due to its higher density. When the tablet reacts with water, it creates carbon dioxide gas, forming bubbles that carry colored water upwards, mimicking a lava lamp.
Try This:
Use different bottle sizes or food coloring to observe varying effects.
Learning Outcome:
Children learn about density differences and how gas forms in chemical reactions.
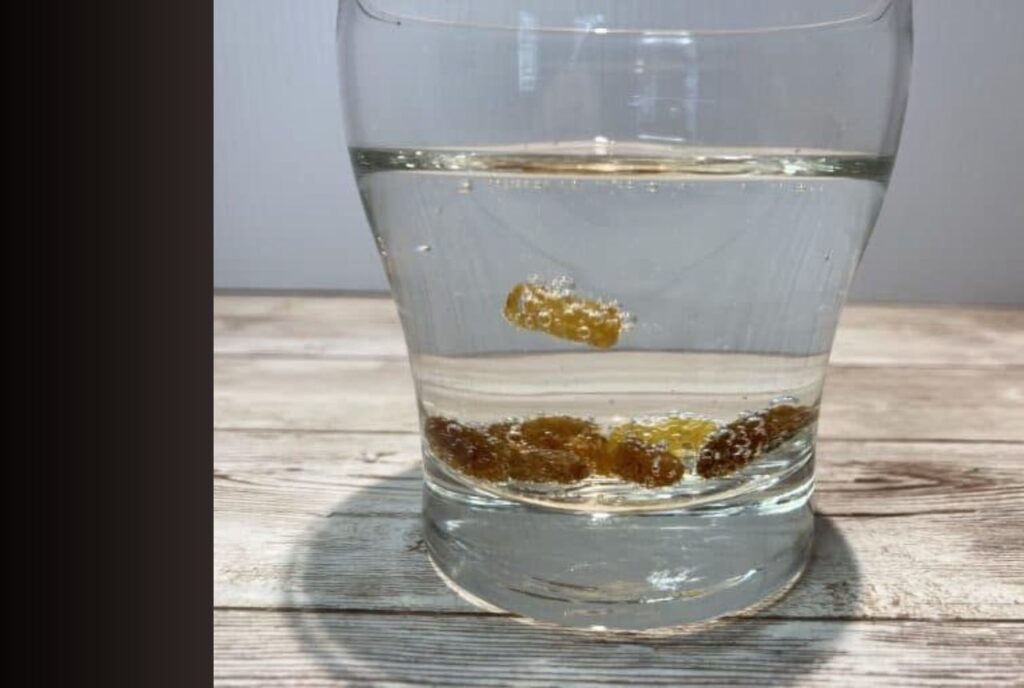
2. Dancing Raisins: Understanding Buoyancy and Gas Bubbles
Materials: Clear soda (like Sprite or 7Up), raisins, clear glass.
Steps:
- Pour soda into the glass.
- Drop in a few raisins and observe.
Science Behind It:
The soda’s carbonation (carbon dioxide bubbles) clings to the rough surface of raisins, making them rise. Once the bubbles pop at the surface, the raisins sink again—creating a “dancing” effect.
Observation Tips:
Ask children what happens when the bubbles attach or detach. Try using popcorn kernels or lentils for variation.
Learning Outcome:
Teaches buoyancy, gas interaction, and surface texture effects.
3. Rainbow Walking Water: Demonstrating Capillary Action
Materials: 6 clear cups, paper towels, water, red/yellow/blue food coloring.
Steps:
- Fill 3 cups with colored water (red, yellow, blue), leaving 3 empty between them.
- Fold paper towels and connect each cup to the next.
- Watch as colors “walk” and mix.
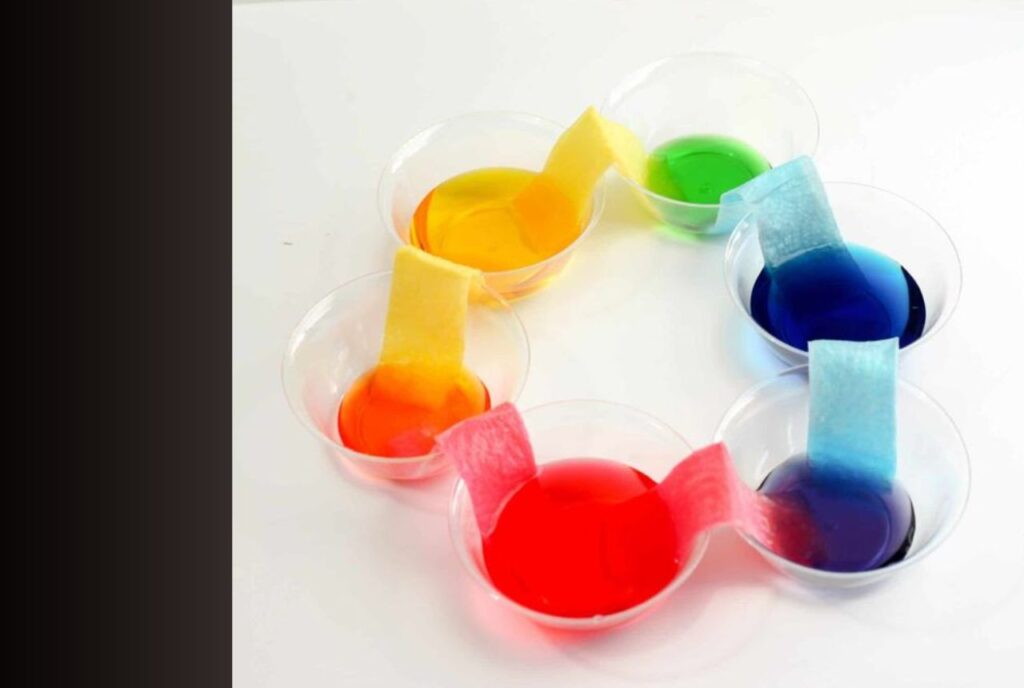
Science Behind It:
Water travels through the paper towel via capillary action. This movement mimics how plants absorb water from soil.
Real-World Link:
Cambridge International School Guwahati uses similar visual experiments to explain plant biology and fluid transport.
Learning Outcome:
Highlights water absorption and color blending in a visually appealing way.
4. Homemade Slime: Exploring Polymers and Non-Newtonian Fluids
Materials: White glue, borax solution (1 tsp borax in 1 cup water), food coloring (optional).
Steps:
- Mix glue with a few drops of food coloring.
- Slowly add borax solution while stirring.
- Knead until it forms slime.
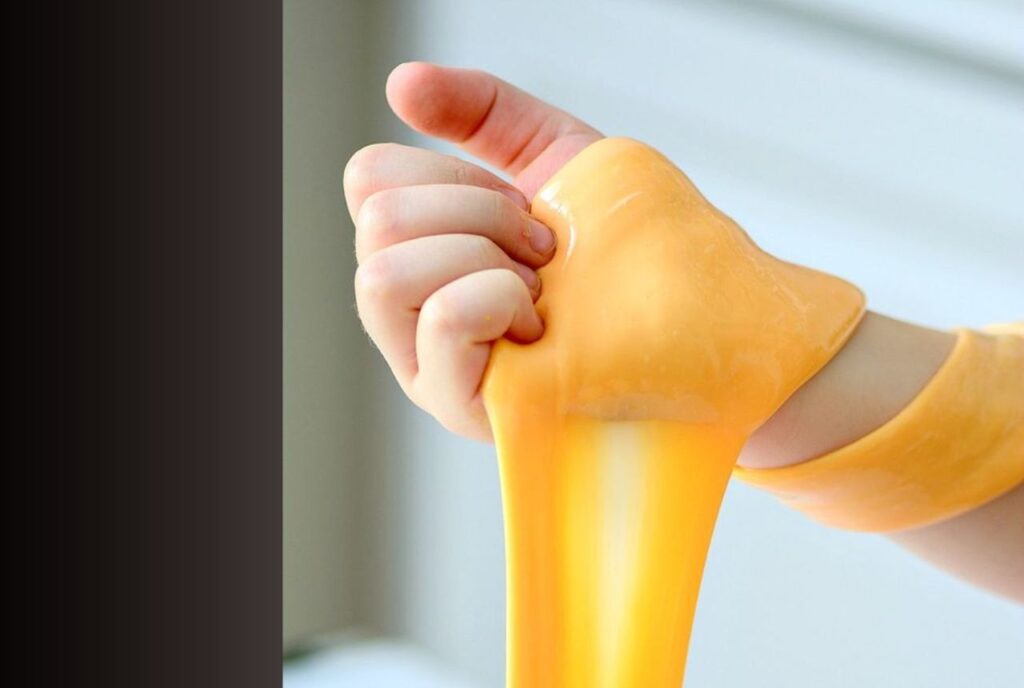
Science Behind It:
Mixing glue and borax creates polymer chains. The resulting slime behaves like a non-Newtonian fluid—it flows slowly but resists quick force.
Safety Tips:
Avoid contact with eyes and wash hands after handling. Store in an airtight container.
Variations:
Try magnetic slime with iron filings or glow-in-the-dark slime for added fun.
Learning Outcome:
Encourages understanding of fluid dynamics and material properties.
5. Baking Soda Volcano: Chemical Reactions Made Visible
Materials: Baking soda, vinegar, dish soap, food coloring, small plastic bottle, modeling clay or sand.
Steps:
- Place the bottle in a tray. Build a “volcano” around it.
- Add baking soda, dish soap, and food coloring inside.
- Pour vinegar and watch it erupt!
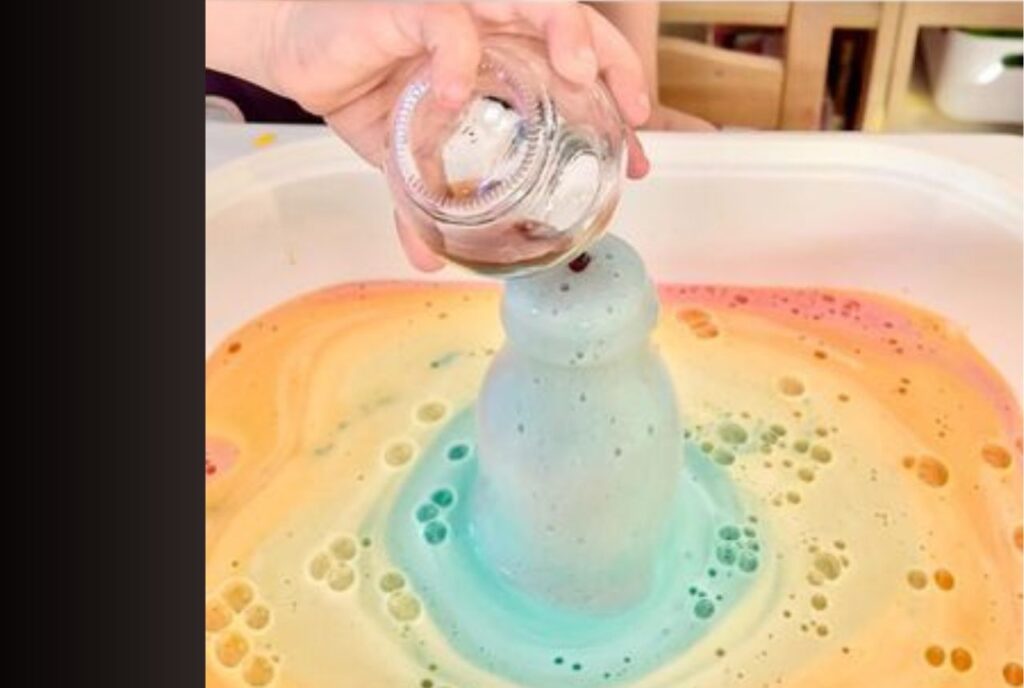
Science Behind It:
The acid (vinegar) reacts with the base (baking soda), releasing carbon dioxide gas and causing an eruption.
Enhancements:
Use red food coloring for lava effect or add glitter for a magical eruption.
Learning Outcome:
Teaches acid-base reactions in a memorable, visual way.
Safety Tips and Best Practices
- Always supervise young children during experiments.
- Use protective gear like gloves and aprons where needed.
- Clean up spills immediately to avoid slipping or contamination.
- Store materials like borax and food coloring safely out of reach.
- Be prepared for minor unexpected reactions—stay calm and explain the learning point.
Educational Benefits and Learning Extensions
These experiments support foundational scientific concepts and align well with most school curricula, including the IGCSE framework. Encourage kids to keep a science journal to note observations and reflect on outcomes. Ask open-ended questions like “Why did this happen?” or “What would change if…?”
At Cambridge International School Guwahati, similar hands-on projects form a key part of the science program to promote inquiry and discovery.
Bring Science Home Today
Science experiments at home can spark joy, curiosity, and a love for learning. The top 5 science experiments to try at home listed here offer engaging ways to bond with your child while reinforcing school science lessons. Try them out, share your experiences, and embrace the scientist within.
At Cambridge International School Guwahati, hands-on science education is a proud tradition—because the best way to learn science is to live it.